
Here are a few shots of our Musical Saw shop. Note: The photos are in no particular order so please don’t think that the sequence presented indicates the order of the steps required to fabricate a Musical Saw – I’ve also left out quite a few of the steps… Engraving, making the handle, assembly, testing, etc.
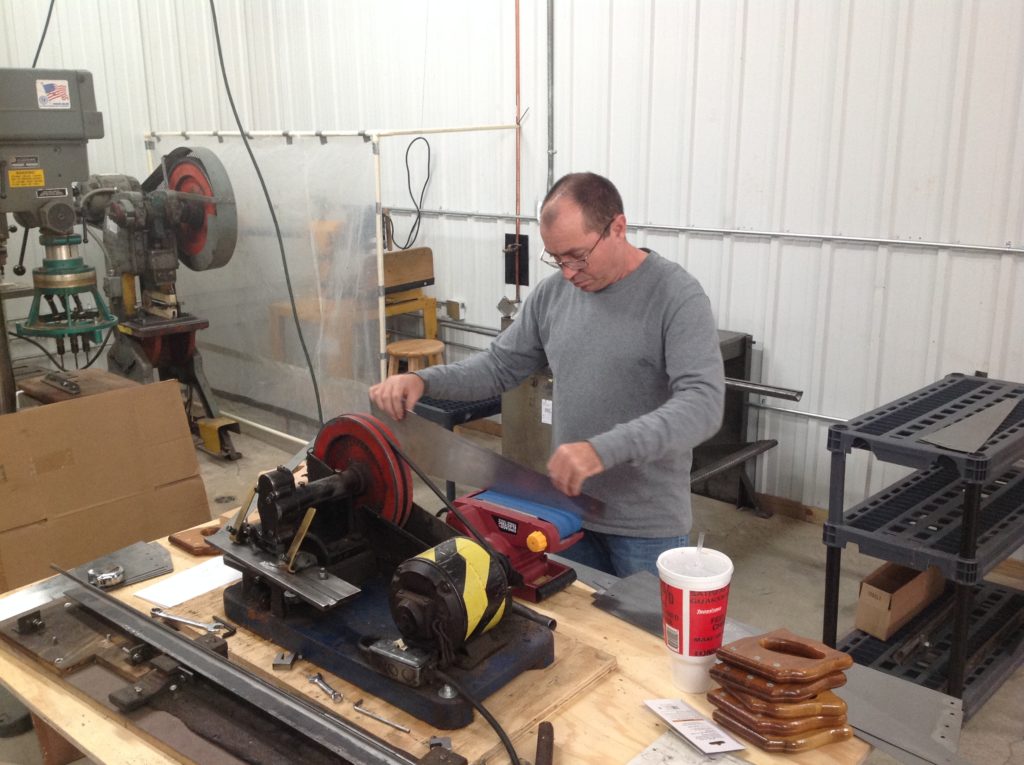
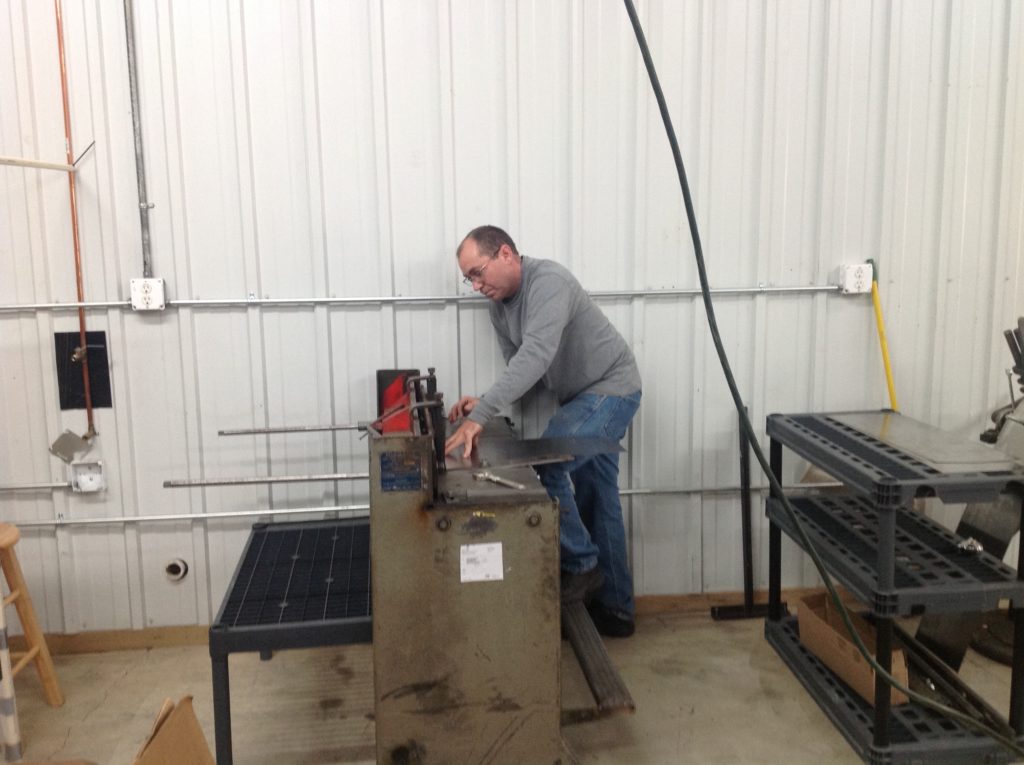 Kevin is shearing the metal into a saw. This machine is basically a pair of scissors for cutting metal
 Notching the teeth into the blade – This machine was built during the 40’s and still running strong! You put the saw blank into it and it marches down the length, notching a tooth with every stroke.
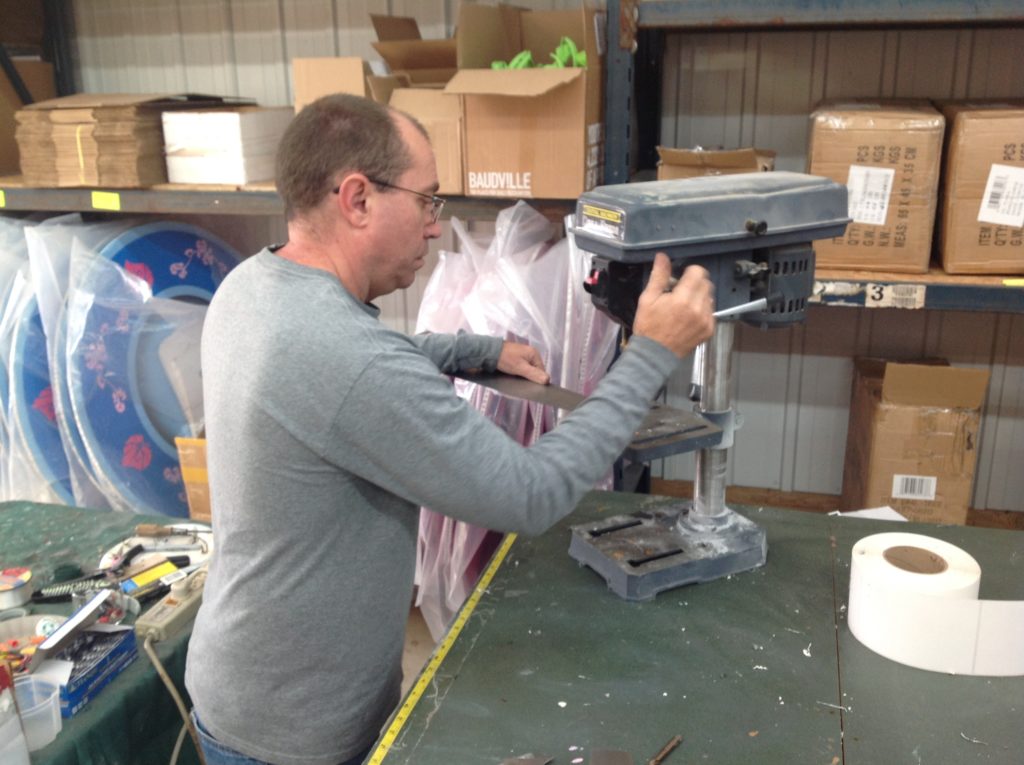
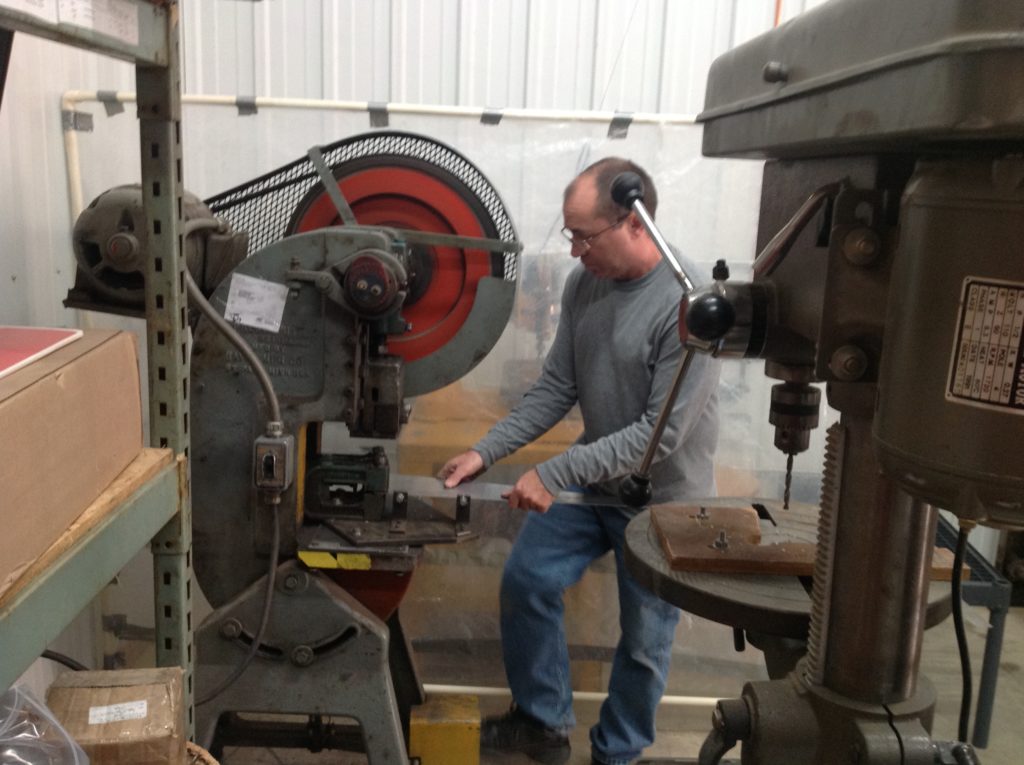 Kevin on the 8-Ton press. This machine punches a hole in the tip for the Cheat and also punches holes for the handle and also to mount the handle.
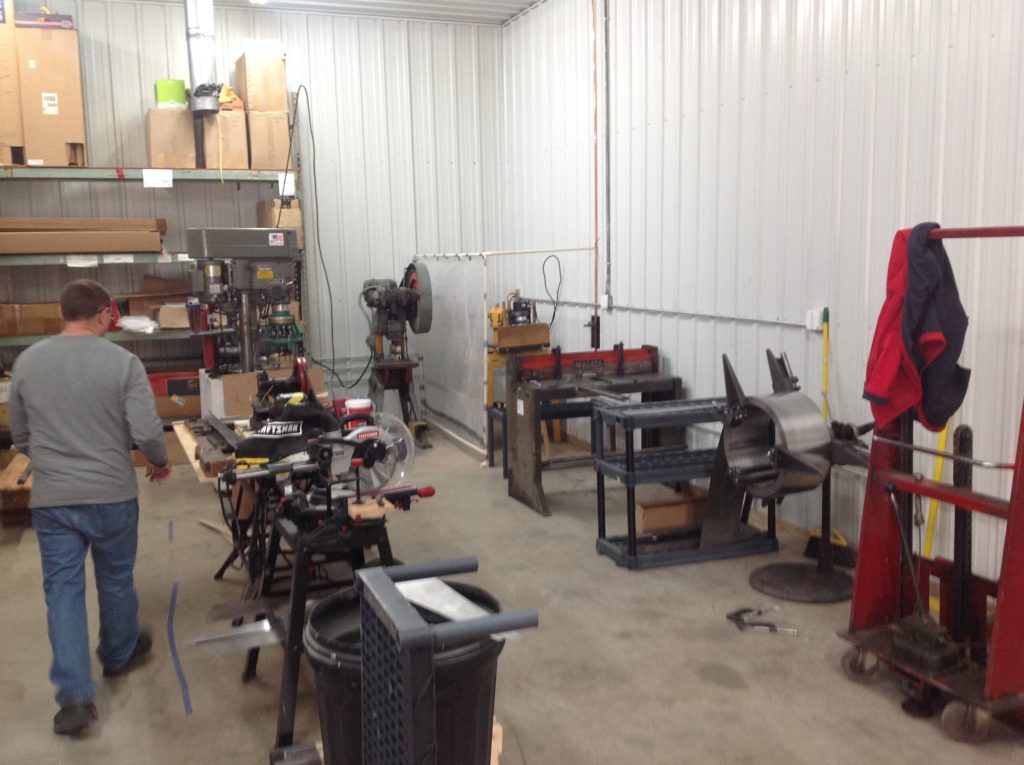 These 10 machines are what’s required to build a Musical Saw!
 Deburring the holes with the deburrer
 Grinding the burr off the edge of the blade – Without this step your bows would probably last about 10 songs before the hair was shredded!
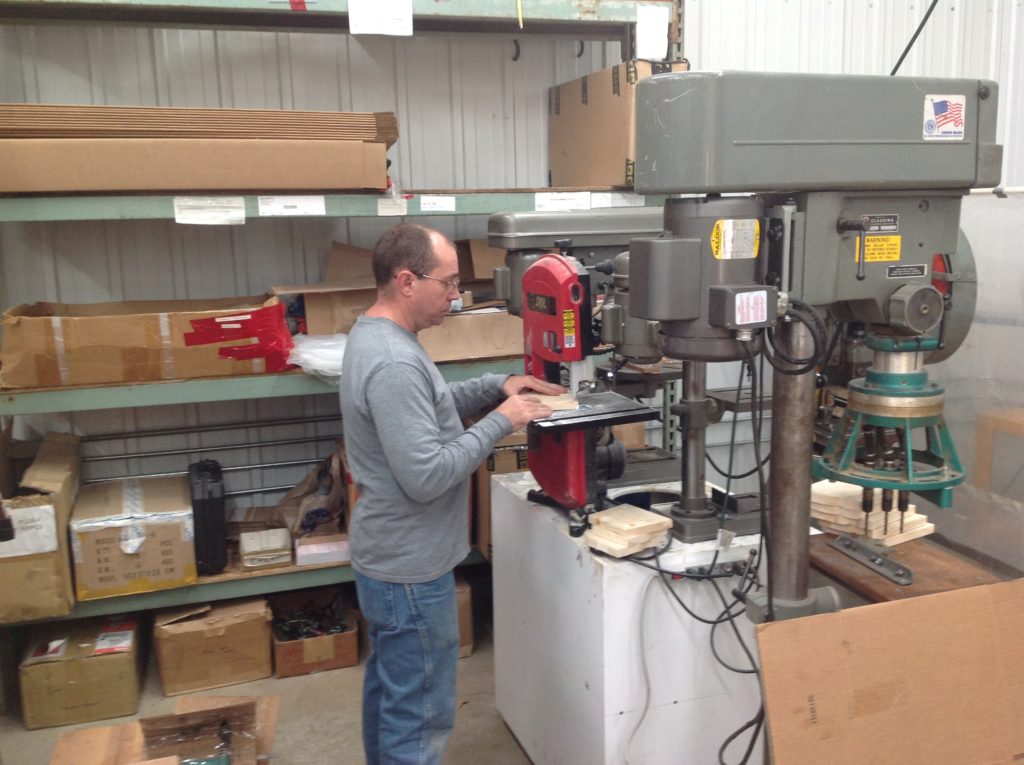 Roughing out the blank for the handle – This is the second step in making the handle. Other steps include: Routing, Drilling, Sanding, Staining, etc.
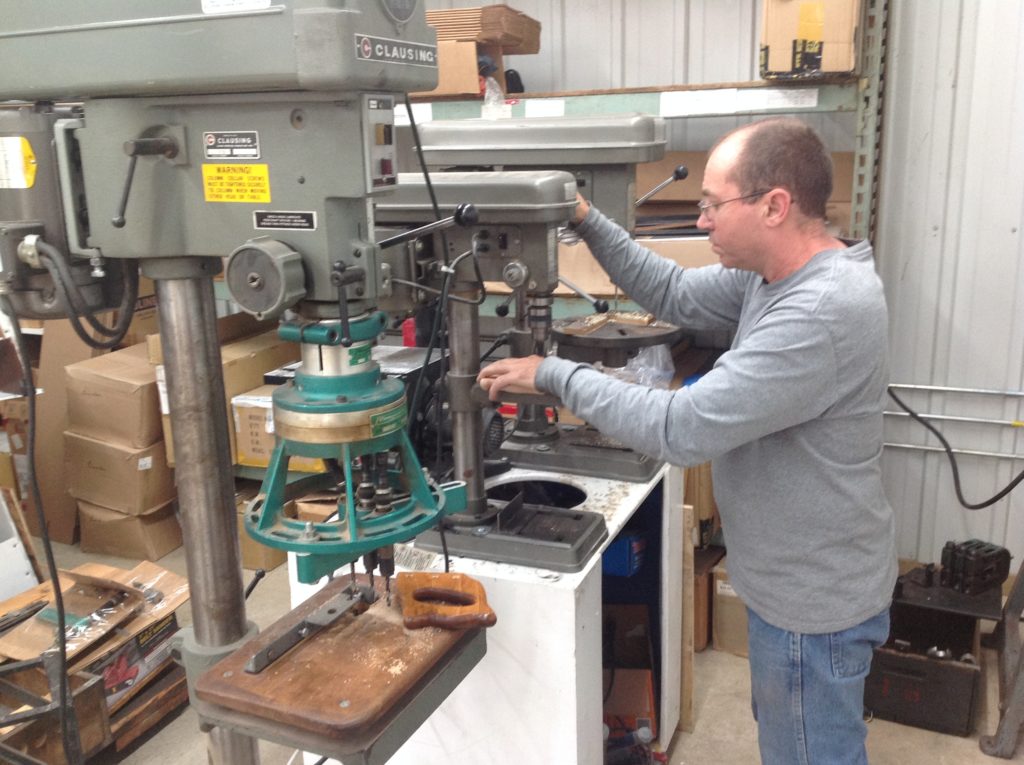 Counter-sinking the holes in the handle. To Kevin’s left is the Drill press that drills 3 holes in precision alignment with the blade.
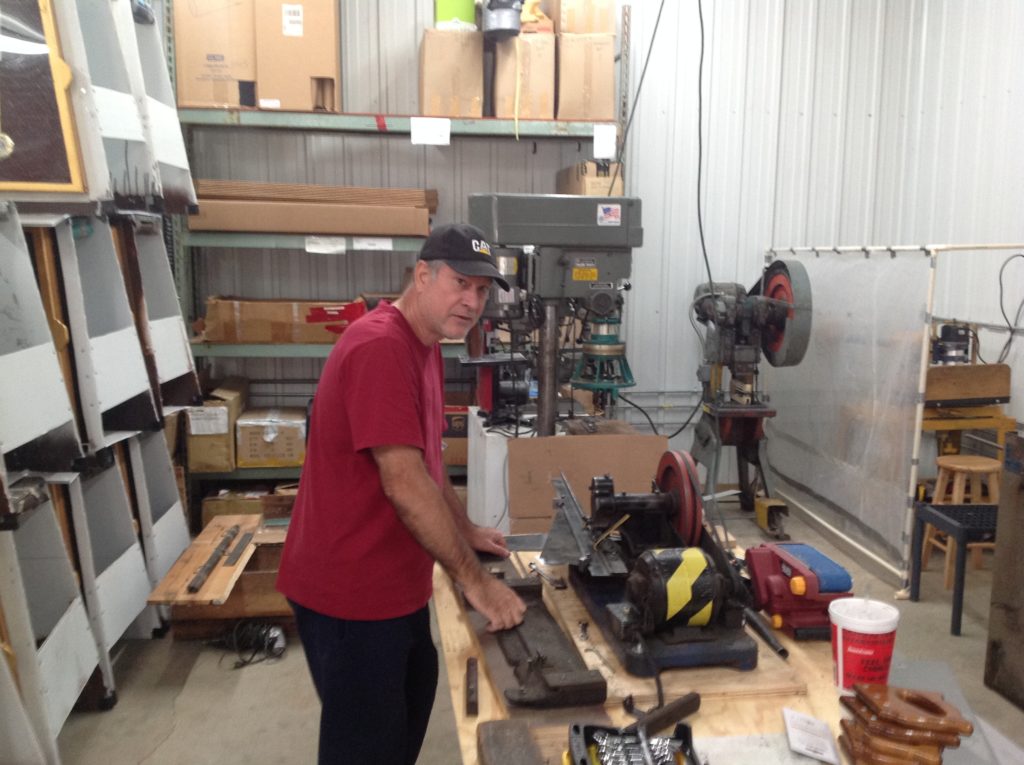
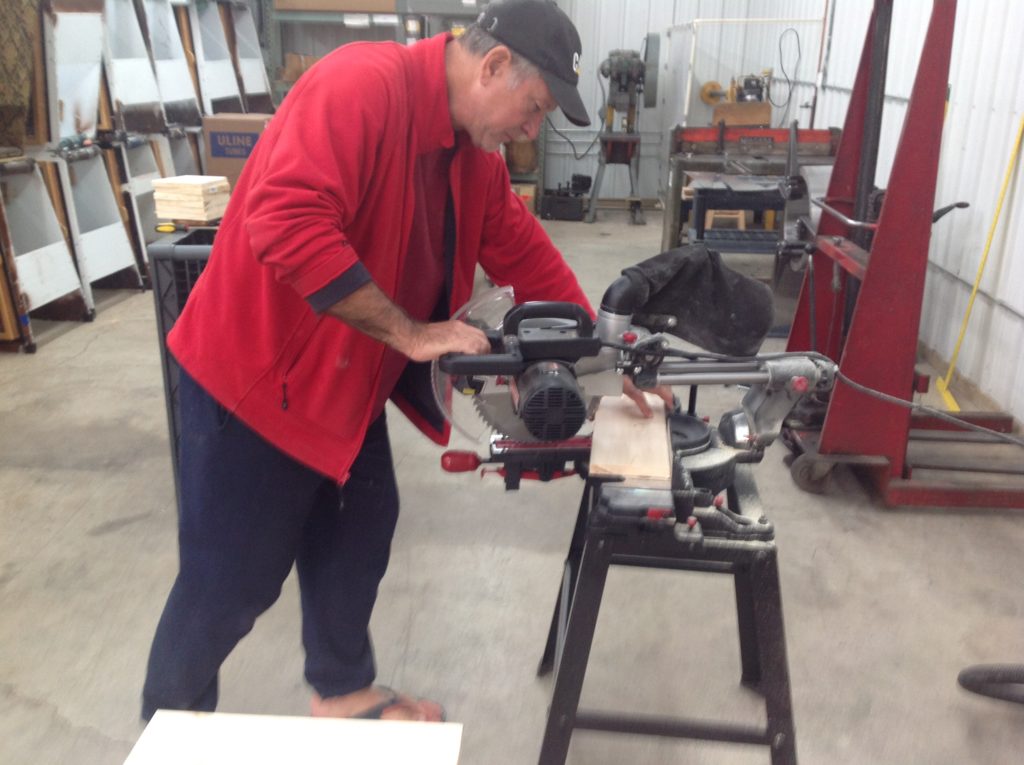 Peter chopping the wood into blanks for the handles – When we are really in production I do wear safety equipment – this picture was just posed.